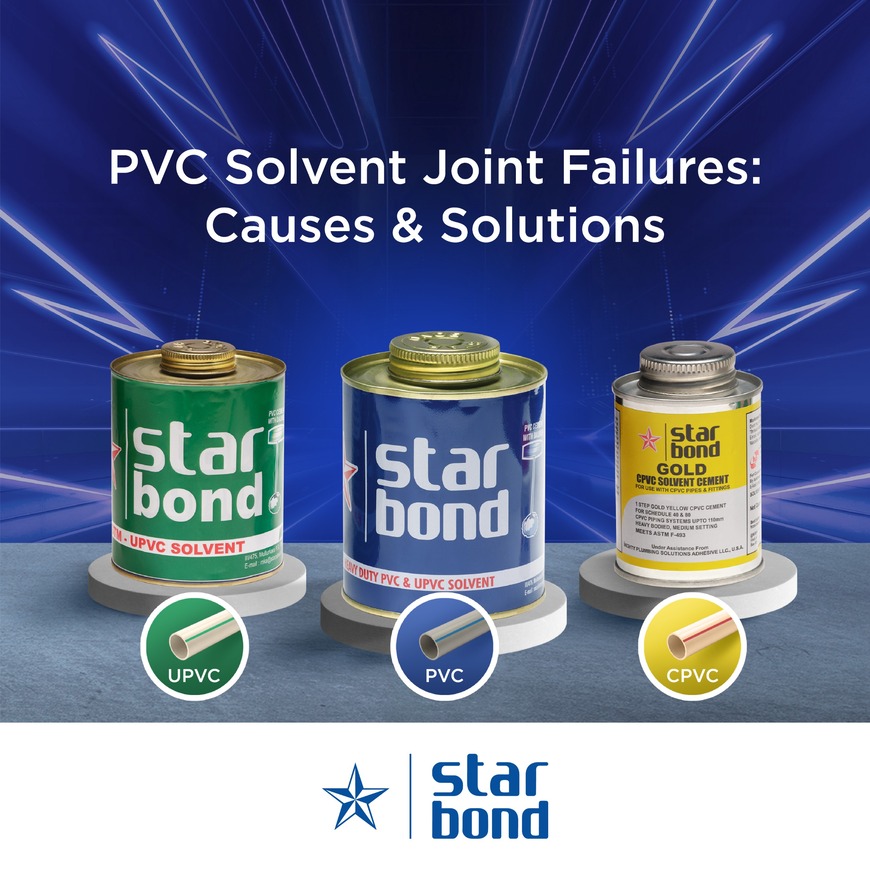
Understanding PVC Solvent Cement Joint Failures: Key Mistakes and Solutions
PVC solvent cement joints are widely used in plumbing, irrigation, and industrial piping systems due to their strength and ease of installation. Yet, failures in these joints remain a common problem that can lead to leaks, costly repairs, and system downtime. Understanding why these joints fail is essential for anyone working with PVC piping to ensure durable, leak-free connections.
This article explores the most frequent mistakes made during the solvent cementing process and offers practical solutions to fix and prevent joint failures. Whether you are a professional plumber, a DIY enthusiast, or a maintenance technician, this guide will help you improve your PVC joint reliability.
Why PVC Solvent Cement Joints Fail
Failures in PVC solvent cement joints usually result from errors during preparation, application, or curing. These failures can appear as leaks, cracks, or joint separation. The most common causes include:
- Improper surface preparation
- Skipping PVC Primer
- Incorrect application of solvent cement
- Poor pipe and fitting alignment
- Ignoring Recommended Curing Time
- Expired or Poorly Stored Solvent Cement
- Incompatible materials
Each of these factors weakens the bond between the pipe and fitting, reducing the joint’s strength and durability.
Common Mistakes in Surface Preparation
Surface preparation forms the foundation of a strong solvent cement joint. Many failures happen because the pipe and fitting surfaces are not properly cleaned or prepared.
Dirty or Contaminated Surfaces
PVC surfaces must be free from dirt, grease, oil, and moisture. Any contamination prevents the solvent cement from properly softening and fusing the surfaces.
How to fix:
• Wipe surfaces using a clean, lint free cloth
• Remove grease or oil with a PVC cleaner or primer
• Ensure surfaces are completely dry before cementing
Rough or Uneven Pipe Ends
Scratched, rough, or uneven pipe ends can interfere with bonding. Sanding or scraping PVC surfaces often causes more harm than good.
How to fix:
• Avoid sanding the pipe surface
• Cut damaged pipe ends cleanly using a pipe cutter or saw
• Remove burrs with a deburring tool
.
Mistakes in Solvent Cement Application
Correct application of solvent cement is critical. Using too little, too much, or applying it unevenly can all result in joint failure.
Skipping PVC Primer
Mistake: Not using primer where it is recommended or required.
Why it causes failure: Primer softens the PVC surface, allowing the solvent cement to penetrate deeply and create a stronger bond.
How to fix:
• Use a compatible PVC primer, especially for pressure piping
• Follow local plumbing codes and manufacturer recommendations
Using Too Little Cement
Insufficient cement leads to weak bonding and gaps between the pipe and fitting.
How to fix:
• Apply a generous, even coat of cement to both pipe and fitting
• Use a proper applicator or brush
• Ensure full coverage on the pipe end and inside the fitting socket
Using Excess Cement
Too much cement can pool inside the fitting, creating weak spots or blockages.
How to fix:
• Apply cement evenly without dripping
• Wipe off excess cement immediately using a clean cloth
Ignoring Manufacturer
Instructions
Different solvent cements have specific guidelines for application, temperature range, and curing time.
How to fix:
• Always read and follow manufacturer instructions
• Use the correct cement for the pipe size and material
• Avoid cementing in extreme temperatures or wet conditions
Pipe and Fitting Alignment Issues
Proper alignment ensures a strong, leak proof joint. Misaligned pipes place stress on the joint and can lead to cracks or separation.
Common issues include:
• Forcing pipes into fittings at an angle
• Excessive twisting during insertion
How to fix:
• Insert the pipe straight into the fitting socket
• Rotate the pipe 1/4 to 1/2 turn to evenly distribute cement
• Hold the joint firmly until the cement sets
Incorrect Insertion Depth
Failing to insert the pipe fully into the fitting reduces the bonding surface area.
How to fix:
• Mark the insertion depth on the pipe before cementing
• Push the pipe fully into the fitting until it reaches the mark
Inadequate Curing Time
Curing time is essential for joint strength. Moving or pressurizing the joint too soon can cause leaks or joint separation.
Common mistake: Testing or handling joints before they have fully cured.
How to fix:
• Follow the curing times specified by the cement manufacturer
• Allow at least 15 minutes for initial set and 2 hours for full cure at room temperature
• Increase curing time in cold or humid conditions
Using Incompatible Materials
Not all PVC pipes and fittings work with every type of solvent cement. Using the wrong product weakens the joint.
Mixing Different PVC Types
Certain PVC materials require specific primers and cements.
How to fix:
• Identify the pipe and fitting type (e.g., Schedule 40 or Schedule 80)
• Use solvent cement designed for that specific material
• Avoid mixing PVC with CPVC or other plastics unless explicitly approved
Practical Tips to Prevent Joint Failures
• Clean and dry all surfaces before cementing
• Use primer when recommended
• Apply solvent cement evenly on both surfaces
• Insert the pipe fully and rotate slightly
• Hold the joint firmly during initial set
• Allow full curing before pressurizing
• Store solvent cement in a cool, dry place
• Check expiration dates before use
• Avoid working in extreme weather conditions.
How to Fix Failed PVC Solvent Cement Joints
When a joint fails, the most reliable solution is to replace it entirely.
Repair Steps
1. Turn off the water supply and drain the pipe
2. Cut out the failed joint using a pipe cutter or saw
3. Clean and prepare the pipe ends and new fittings
4. Apply primer and solvent cement correctly
5. Assemble the joint with proper alignment and insertion depth
Allow the joint to cure fully before restoring water pressure.
Note: Applying additional cement around a leaking joint may provide temporary relief, but it is not a permanent solution.
Best Practices for Strong PVC Solvent Cement Joints
- Always follow manufacturer instructions
Proper PVC solvent cement joints should follow industry-recognized installation methods such as those outlined in the ASTM D2855 standard for PVC solvent cement joints. - Use certified, standard-compliant solvent cement
- Match cement type to pipe size and application
- Allow adequate curing time before system use
Conclusion
PVC solvent cement joint failures are almost always preventable. Most issues arise from improper preparation, incorrect product selection, or rushed installation. By following correct application techniques and best practices, you can ensure durable, leak-free PVC joints that perform reliably over time.
Frequently Asked Questions (FAQ)
Minor leaks may be repaired, but failed joints usually require replacement.
It depends on local codes and application type, but primer improves joint reliability.
Curing time varies based on pipe size, temperature, and cement type—always follow manufacturer instructions.
No, CPVC solvent cement should not be used for all types of PVC pipes.
CPVC and PVC require different solvent cements due to their distinct material properties. Using the wrong cement can weaken the joint and lead to leaks or failure. Always use the solvent cement recommended for the specific pipe type.